Battery switch on travel trailer function is crucial for managing your RV’s power. Understanding how to use your battery switch correctly ensures you have power when you need it, whether you’re hooked up to shore power, running a generator, or relying solely on your batteries. This guide covers various switch types, troubleshooting, wiring, maintenance, and safety tips to keep your travel trailer’s electrical system running smoothly.
We’ll explore the different types of battery switches—from simple single switches to more complex dual or rotary switches—and how they interact with your trailer’s power sources. We’ll also delve into practical advice on wiring, troubleshooting common problems, and implementing preventative maintenance to maximize the lifespan of your battery switch and overall electrical system.
Understanding Battery Switch Functionality in Travel Trailers: Battery Switch On Travel Trailer Function
Your travel trailer’s battery switch is a crucial component for managing power, allowing you to select and control the flow of electricity from different sources. Understanding its operation is key to preventing electrical issues and ensuring a smooth camping experience. This section will explain how these switches work and how to use them safely and effectively.
So, you’re an audiophile who travels? Awesome! Make sure you check out this guide on audiophile travel setup to keep your ears happy on the go. It’s crucial to protect your investment, right? That’s where good travel insurance comes in. Consider getting a quote from Aon travel insurance before you jet off; you’ll want peace of mind knowing your gear is covered.
Happy travels!
Types of Battery Switches
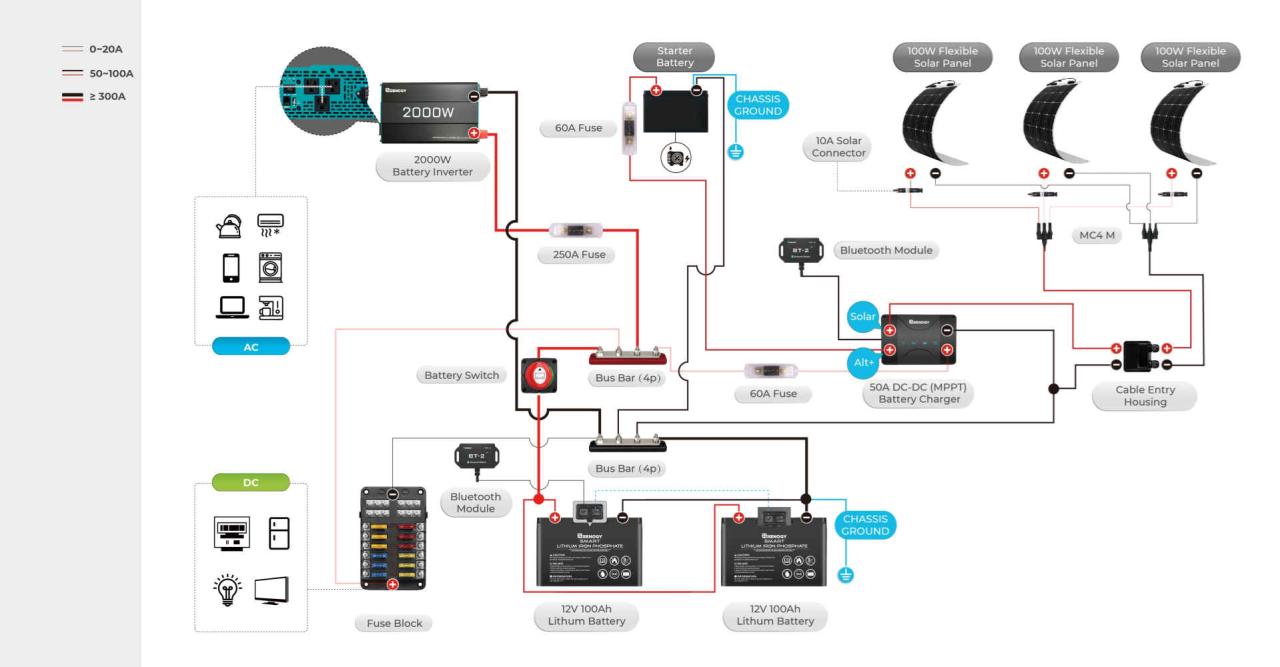
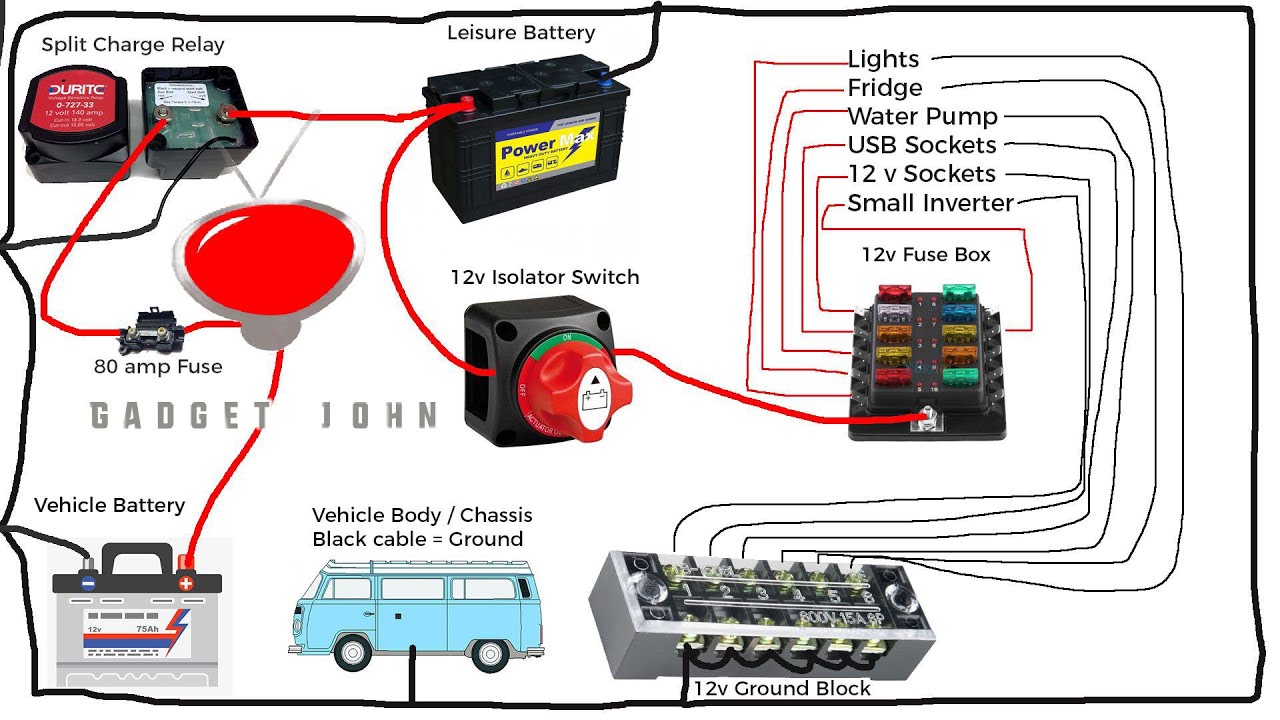
Travel trailers typically utilize one of two main types of battery switches: a simple on/off switch or a more sophisticated multi-position switch. The simple on/off switch is the most basic, simply connecting or disconnecting your trailer batteries from the trailer’s electrical system. A multi-position switch, often a rotary switch, offers more control, allowing you to select different power sources, like the shore power, generator, or batteries, individually or in combination.
This added control is particularly useful for managing battery charging and preventing accidental discharge.
Purpose of a Battery Switch in Power Management
The primary purpose of a battery switch is to control the flow of power between your trailer’s batteries and its electrical system. This is vital for several reasons. Firstly, it allows you to disconnect your batteries completely to prevent accidental discharge when your trailer is stored for extended periods. Secondly, it enables you to select your power source.
When connected to shore power or a generator, the switch often allows the charging system to replenish the batteries while simultaneously powering the trailer’s appliances. Finally, it allows for safe switching between power sources without risking electrical shorts or damage to your equipment.
So, you’re an audiophile who loves to travel? Awesome! Make sure you check out this guide on creating the perfect audiophile travel setup before you go. It’s crucial to protect your gear, and while you’re planning, don’t forget travel insurance! Consider getting a policy from Aon travel insurance for peace of mind knowing your investments are covered.
This way, you can relax and enjoy your amazing music on the go, without worrying about unexpected mishaps.
Operating a Battery Switch: A Step-by-Step Guide
Before operating your battery switch, always consult your trailer’s owner’s manual for specific instructions. However, the general process is usually straightforward.
- Identify the Switch: Locate your battery switch, typically found near your battery bank or inside a control panel.
- Understand the Positions: Familiarize yourself with the switch’s positions. Common positions include “Off,” “Battery,” “Shore Power,” “Both,” and sometimes “Generator.” “Off” completely disconnects the batteries. “Battery” connects only the batteries. “Shore Power” connects only the shore power. “Both” connects both the batteries and the shore power (or generator).
The specific labels may vary.
- Turn the Switch: Carefully turn the switch to the desired position. Avoid forcing the switch. If it feels stiff, check your owner’s manual.
- Verify Power: After switching, check that your appliances are receiving power from the selected source. If not, double-check the switch position and other potential power issues.
- Safety First: Always disconnect the battery switch when your trailer is stored for a prolonged period to prevent battery drain.
Power Flow Diagram
The following describes the power flow with a simplified diagram. Imagine a circle representing your trailer’s electrical system. Lines represent the power flow. Diagram (textual representation):Without Battery Switch Engaged (Switch in “Off” position):Shore Power —X—> Electrical SystemGenerator —X—> Electrical SystemBatteries —X—> Electrical System(X represents no power flow) With Battery Switch Engaged (Switch in “Battery” position):Shore Power —X—> Electrical SystemGenerator —X—> Electrical SystemBatteries ——–> Electrical System With Battery Switch Engaged (Switch in “Shore Power” position):Shore Power ——–> Electrical SystemGenerator —X—> Electrical SystemBatteries —X—> Electrical System With Battery Switch Engaged (Switch in “Both” position):Shore Power ——–> Electrical SystemGenerator —X—> Electrical SystemBatteries ——–> Electrical System(Note: Generator power flow would be similar to Shore Power, depending on switch configuration.) This simplified diagram illustrates the basic principles; the actual power flow might be more complex depending on your trailer’s specific wiring and charging system.
Troubleshooting Common Battery Switch Issues
Dealing with a faulty battery switch in your travel trailer can be frustrating, but understanding the common problems and how to troubleshoot them can save you time and potential headaches. This section will guide you through identifying and resolving some of the most frequent issues. Remember safety first – always disconnect power before working on any electrical components.
Battery switch problems usually manifest as a lack of power to certain systems, unexpected battery drain, or even overheating of the switch itself. These issues often stem from simple problems, but can sometimes indicate more serious underlying electrical problems. A methodical approach to troubleshooting is key.
Identifying Common Battery Switch Problems
Common problems include a complete lack of power to the trailer’s systems, inconsistent power supply (power comes and goes), overheating of the switch (it feels hot to the touch), visible corrosion on the terminals, and loose or damaged wiring connections. These issues can range from easily fixable to requiring professional attention.
Troubleshooting Steps for Battery Switch Issues
Before you begin any troubleshooting, ensure you have the right tools: a multimeter (to check voltage), screwdrivers (Phillips and flathead), wire cutters/strippers (if you need to replace wiring), and possibly a wire brush for cleaning corroded terminals. Safety glasses are also highly recommended.
- Visual Inspection: Start with a thorough visual inspection of the battery switch and its connections. Look for any obvious signs of damage, loose wires, corrosion on the terminals, or burnt areas. Pay close attention to the wiring harness connected to the switch.
- Voltage Testing: Use a multimeter to check the voltage at various points. First, check the voltage directly at the battery terminals. Then, check the voltage at the input and output terminals of the battery switch. A significant voltage drop across the switch indicates a problem within the switch itself or its connections. If the voltage at the output terminals is zero, even when the switch is on, there’s a break in the circuit after the switch.
- Testing the Switch Mechanism: With the power disconnected, carefully examine the switch’s internal mechanism. If it’s a rotary switch, check for any binding or stiffness in the rotation. If it’s a push-button switch, test its responsiveness. A faulty switch mechanism may require replacement.
- Checking for Corrosion: Corrosion is a common culprit. Use a wire brush to gently clean any corrosion from the terminals and connections. Apply a corrosion inhibitor to prevent future corrosion. Make sure to clean both the battery terminals and the switch terminals.
- Inspecting Wiring: Carefully examine all wiring connected to the switch for any signs of damage, fraying, or loose connections. If you find any damaged wiring, it needs to be repaired or replaced.
Safely Disconnecting and Reconnecting a Battery Switch
Always disconnect the negative (-) battery terminal first before working on any electrical components. This minimizes the risk of accidental shorts or shocks. Reconnect the positive (+) terminal last.
- Disconnect: Locate the negative (-) battery terminal. Use a wrench to loosen the terminal nut and carefully remove the cable from the terminal. Then, repeat the process for the positive (+) terminal.
- Reconnect: Once repairs or cleaning are complete, reconnect the positive (+) terminal first, ensuring a tight connection. Then, reconnect the negative (-) terminal.
Battery Switch Maintenance and Safety
Keeping your travel trailer’s battery switch in top condition is crucial for reliable power and preventing costly repairs. Regular maintenance ensures your batteries deliver consistent performance, extending their lifespan and minimizing the risk of unexpected power outages on the road. This involves both proactive care of the switch itself and safe handling of the battery system.Proper maintenance and safety procedures are essential when working with your travel trailer’s battery system.
Neglecting these can lead to corrosion, electrical hazards, and potentially dangerous situations. Following these guidelines will help ensure both the longevity of your battery switch and your personal safety.
Routine Maintenance Schedule, Battery switch on travel trailer function
A simple routine will keep your battery switch running smoothly. Inspecting your switch monthly, and performing more thorough maintenance every six months, is a good starting point. This schedule can be adjusted based on your usage and environmental conditions (e.g., more frequent checks in humid or salty environments). During monthly inspections, visually check for corrosion, loose connections, and any signs of damage.
The six-monthly maintenance involves a more thorough cleaning and tightening of connections.
Safety Precautions When Working with Batteries and Electrical Systems
Working with batteries and electrical systems requires caution. Always disconnect the negative battery terminal first before performing any maintenance on the battery switch or related components. This minimizes the risk of accidental short circuits. Wear safety glasses to protect your eyes from potential splashes of battery acid. Ensure adequate ventilation when working with batteries, as they emit hydrogen gas, which is flammable and explosive.
Never work on the electrical system when it’s raining or the ground is wet to avoid electrical shocks. Use insulated tools to prevent accidental shocks. If you are unsure about any procedure, consult a qualified electrician.
Tools and Materials for Battery Switch Maintenance
You’ll need a basic set of tools for maintaining your battery switch. This typically includes a wire brush, a wrench (or socket set) appropriate for your battery terminal connections, dielectric grease, baking soda, and water. A voltage meter can be helpful for checking battery voltage and ensuring proper charging. Gloves are essential to protect your hands from battery acid.
A small container for mixing the baking soda solution is also useful.
Preventative Measures to Avoid Common Battery Switch Problems
Corrosion is a common enemy of battery switches. To prevent it, apply a thin layer of dielectric grease to all connections after cleaning. This creates a barrier that prevents moisture from reaching the metal contacts, inhibiting corrosion. Regularly inspect the connections for any signs of looseness and tighten them as needed. Vibrations from travel can loosen connections over time, so this is a crucial step.
Keep the battery compartment clean and dry. Regular cleaning of the battery terminals and switch itself will remove any build-up of corrosive materials. A mixture of baking soda and water can be used to neutralize any acid spills.
Mastering your travel trailer’s battery switch is key to a worry-free RV experience. By understanding its function, different types, and maintenance needs, you can confidently manage your power sources and avoid common electrical issues. Remember safety is paramount when working with electrical systems; if unsure, consult a qualified RV technician. Happy travels!
Key Questions Answered
What happens if I leave my battery switch on while driving?
Generally, nothing bad will happen, but it’s best practice to turn it off to avoid accidentally draining your batteries. Some systems may draw a small parasitic drain.
How often should I check my battery switch connections?
Inspect your connections at least once a year or before and after extended storage to check for corrosion or loose wires.
Can I use a battery switch with solar panels?
Yes, but you’ll need to ensure your solar charge controller is wired correctly to prevent issues. Some controllers work better with certain switch configurations.
My battery switch is hot to the touch. Is this normal?
No, a hot battery switch indicates a problem, likely high amperage draw or a loose connection. Turn it off immediately and investigate the cause.
